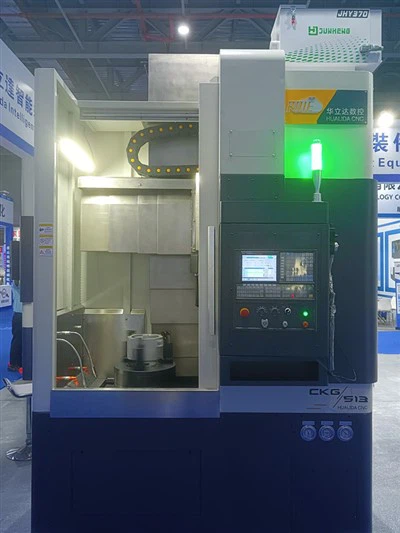
Hey there! As a supplier of the CKG513 CNC Lathe Machine, I often get asked about how to adjust the coolant flow rate on this bad boy. So, I thought I'd put together this blog post to share some tips and tricks I've picked up over the years.
First things first, why is adjusting the coolant flow rate so important? Well, the coolant plays a crucial role in the machining process. It helps to keep the cutting tool cool, which extends its lifespan and improves the quality of the cut. It also flushes away chips and debris, preventing them from interfering with the machining operation. If the coolant flow rate is too low, the tool can overheat, leading to premature wear and poor surface finish. On the other hand, if the flow rate is too high, it can cause excessive splashing and waste coolant.
Now, let's get into the nitty-gritty of how to adjust the coolant flow rate on the CKG513 CNC Lathe Machine. The process may seem a bit intimidating at first, but with a little patience and some basic knowledge, you'll be a pro in no time.
Step 1: Locate the Coolant Pump and Flow Control Valve
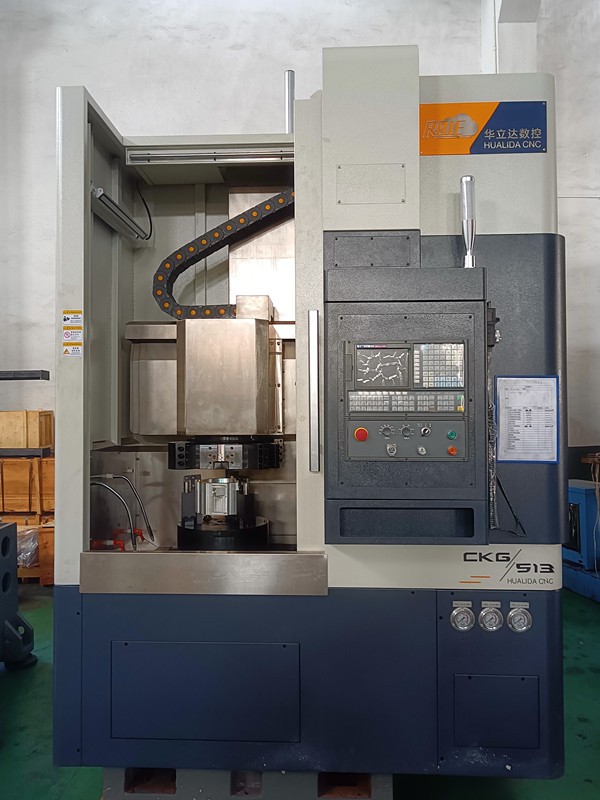
The first step is to find the coolant pump and the flow control valve on your CKG513 CNC Lathe Machine. The coolant pump is usually located near the bottom of the machine, and it's responsible for circulating the coolant through the system. The flow control valve, on the other hand, is used to adjust the amount of coolant that is delivered to the cutting tool.

Step 2: Understand the Flow Control Valve
The flow control valve is a simple device that allows you to adjust the flow rate of the coolant. It typically has a handle or a knob that you can turn to increase or decrease the flow. Some flow control valves may also have a scale or markings to help you determine the exact flow rate.
Step 3: Start with a Low Flow Rate
Before you start making any adjustments, it's a good idea to start with a low flow rate. This will help you to avoid any sudden changes in the coolant flow, which could cause splashing or other issues. Once the machine is running, you can gradually increase the flow rate until you reach the desired level.
Step 4: Monitor the Coolant Flow
As you adjust the flow rate, it's important to monitor the coolant flow closely. You can do this by observing the coolant as it is being delivered to the cutting tool. If the flow is too low, you may notice that the tool is starting to overheat or that the chips are not being flushed away properly. On the other hand, if the flow is too high, you may see excessive splashing or a buildup of coolant in the machine.
Step 5: Make Small Adjustments
When making adjustments to the flow rate, it's best to make small changes at a time. This will allow you to fine-tune the flow rate and avoid any sudden changes that could cause problems. After each adjustment, give the machine a few minutes to stabilize and observe the coolant flow before making any further changes.
Step 6: Consider the Material and Cutting Conditions
The optimal coolant flow rate will depend on a variety of factors, including the material being machined, the cutting speed, and the depth of cut. For example, when machining a hard material, you may need a higher flow rate to keep the tool cool. On the other hand, when machining a soft material, a lower flow rate may be sufficient. It's important to consider these factors when adjusting the coolant flow rate to ensure that you're getting the best results.
Step 7: Check for Leaks
Once you've adjusted the coolant flow rate to your satisfaction, it's a good idea to check for any leaks in the system. Look for any signs of coolant dripping or pooling around the machine. If you notice any leaks, it's important to address them immediately to prevent any damage to the machine or to the environment.
Step 8: Document Your Settings
Finally, it's a good idea to document the coolant flow rate settings that you've found to work best for your specific machining operations. This will help you to reproduce the same results in the future and make any necessary adjustments if the conditions change.
In addition to the CKG513 CNC Lathe Machine, we also offer other models such as the CKG5110 CNC Vertical Lathe and the CKG516 CNC Vertical Lathe. These machines also require proper coolant flow rate adjustment to ensure optimal performance.
If you're in the market for a high-quality CNC lathe machine or if you have any questions about adjusting the coolant flow rate, don't hesitate to reach out to us. We're here to help you get the most out of your machining operations and to ensure that you're getting the best value for your money. Whether you're a small shop or a large manufacturing facility, we have the expertise and the products to meet your needs.
So, there you have it! A comprehensive guide on how to adjust the coolant flow rate on the CKG513 CNC Lathe Machine. I hope you found this blog post helpful. If you have any questions or if you'd like to share your own experiences, please feel free to leave a comment below.
References
- "CNC Lathe Machine Operation Manual"
- "Coolant System Handbook for Machining"